Image quality
Image properties
Resolution
The image resolution depends on the size of the camera sensor and the pixel size. The dimensions of the sensor are described in number of rows and number of columns (of pixels), e.g., 8820 pixels x 5668 pixels, which results in 50 Megapixels.
The physical size of the sensor depends on the width and height of a pixel and the number of pixels along the sensor’s dimensions. For the 50 Megapixels sensor with a pixel size of 4 µm (micrometer), the sensor has a width of 8820 pixels x 4 µm/pixel = 35,280 mm and a height of 5668 pixels x 4 µm/pixel = 22,672 mm.
The focal length f, the flight height h, the pixel size ps and the amount of pixels pix determine the size of the area captured on the ground, so-called footprint, or swath s.
For a flight height of 1750 m, a focal length of 70 mm and the given sensor, the swath width is calculated by
sw = pix-hor * h * ps / f = (8820 pix * 1750 m * 4 µm/pix) / 70 mm = 882 m
and the swath height:
sh = pix-ver * h * ps / f = (5668 pix * 1750 m * 4 µm/pix) / 70 mm =566,8 m
The flight height h, the pixel size ps and the focal length f also determine the area on the ground which is represented by one pixel. The distance between two consecutive pixels is called Ground Sampling Distance (GSD) and is calculated by
GSD = h* ps / f = (1750 m * 4 µm/pix) / 70 mm = 10 cm/pix

In most cases of photogrammetric projects, the GSD is given and determines the flight height pending on the focal length of the used camera.
If we compare results that were taken at the same height, we will see that a higher resolution of the images can lead to more precise results, as the measurement accuracy is depending on the size of a pixel on the object (GSD).
A large resolution sensor can also be beneficial in Photogrammetry as more feature points can be used to retrieve a stable camera orientation from Bundle Adjustment.
Most cameras use a Bayer pattern and effectively have a lower resolution than the nominal image. This pattern contains only half the pixels green, a quarter red and a quarter blue. The final image is retrieved by interpolation in the de-Bayering process.
Radiometric quality
The radiometric quality is the ability to resolve an intensity or brightness of a pixel. This quality is defined by the size of each pixel (e.g. 4.5 micrometer), as it can collect more light, as well as the sensor quality. As Photogrammetry requires texture, the radiometric quality (e.g. the ability to resolve texture in dim light conditions or shadows) is important for the final result. The final radiometric quality of the image is defined by the sensor quality and the amount of light reaching the pixel during exposure.
Sharpness
The sharpness is defined by the quality of the lens, as well as the aperture being used. With a closed aperture (large value such as 11) the sharpness increases. The lens quality itself is defined by the manufacturing quality, the size of the lens (larger sensors can use larger lenses), the lens assembly (zoom lenses have typically less sharpness than fixed focal length lenses). Besides the lens itself, sharpness can also be diminished by motion blur, which should be considered with moving scenes by a short exposure time.
Exposure parameters
Choosing the right exposure parameters is crucial for image quality. For Photogrammetric applications, the image should be neither over- nor under-exposed. so the histogram should be in the center.
The following sequence of defining the parameters can be used:
Reduce the ISO value to a minimum (e.g. 100). The ISO value is an amplification of the sensor sensitivity. If set too high, it will lead to an increase of radiometric noise.
Close the aperture to a value of 5.6 to 8 depending on the light situation. High values lead to sharper images, higher values than 11 can cause aberration effects on some lenses.
Choose the exposure time of 1/100s or slightly shorter to retrieve a histogram in the center. If you have an application with motion involved, the exposure time should be chosen short enough to avoid motion blur.
In case of an underexposure, adjust the aperture accordingly. (For more details on image acquisition find also this paper, penultimate page).
Image Effects
Chromatic Aberration
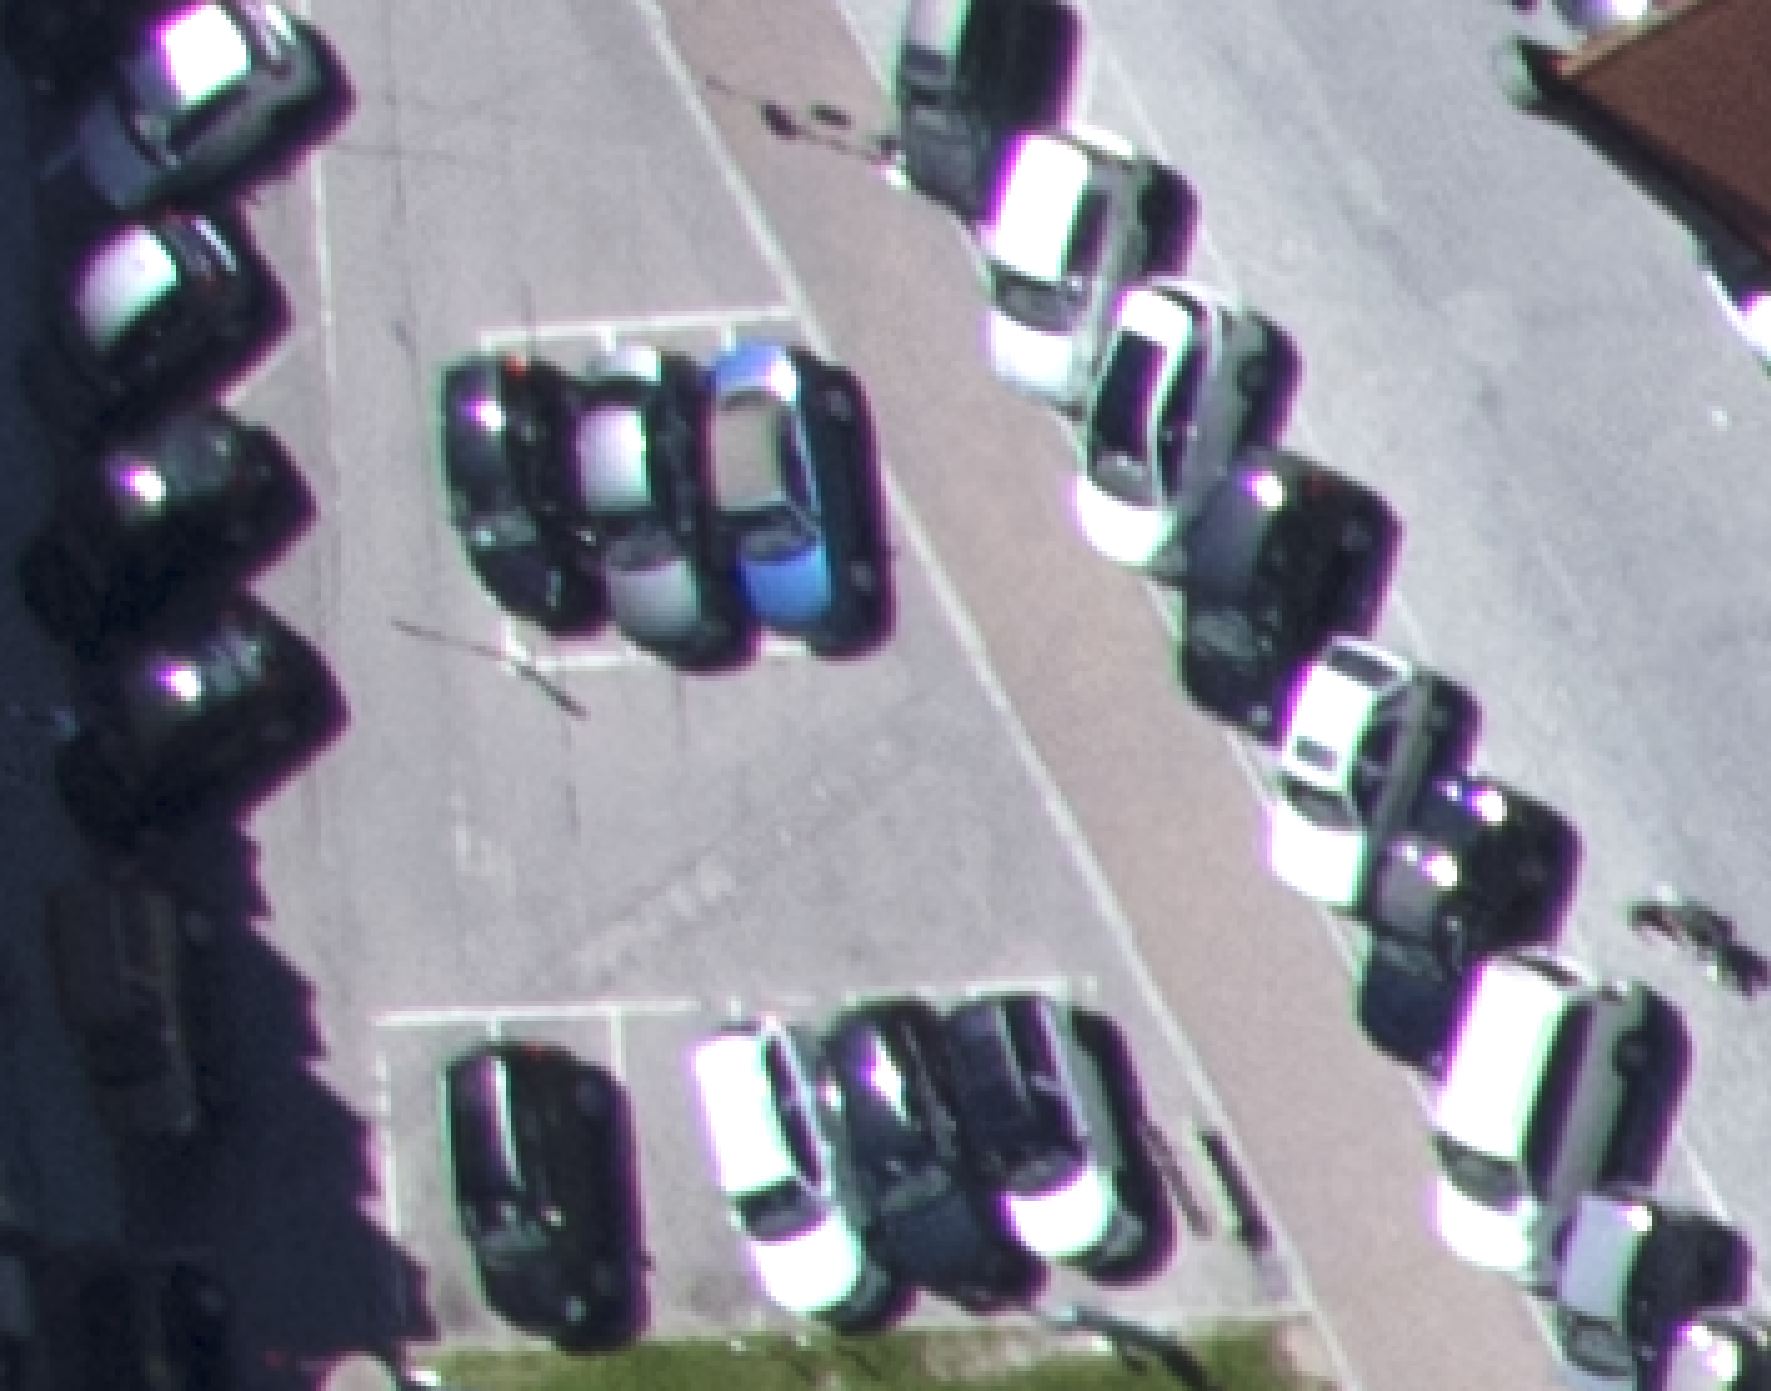
Aberration is an effect that can be seen as little red or blue fringes at the corners of white edges - particularly in the corners of the image. It is caused by different inclinations that light is carried on through the lens based on its wavelength (color). As the wavelength is different for red, green and blue pixels, the same object is not placed at the exactly same place. The effect is radial and can be compensated by calibration automatically. If no correction is possible, the green channel only should be used in Photogrammetry as its wavelength is in the middle and typically has the best radiometric quality with Bayer-pattern cameras.
De-Bayering artifacts
De-Bayering artifacts occur as the interpolation process tries to retrieve a full sensor resolution image from the original capture. As there are always two pixels green, one blue and one red on the sensor, the final image is interpolated from composing them together. In order to preserve features such as edges, smart edge detectors are used in some De-Bayering methods. In the presence of shadows or low radiometric signal-to-noise ratio this can however lead to an increase in noise.
Vignetting
Vignetting leads to darker outer image regions. It is a circular effect caused by the lens directing less light to the sensors in these areas. It occurs particularly for lower quality lenses and can be removed by calibration.
