SURE Project Configuration
Creating a new project using the Project Wizard
The setup is guided by the Project Wizard, which can be opened via the splash screen (Create project) or the file menu (New Project).
For a guided walk-through also check out the video tutorials of our sample datasets.
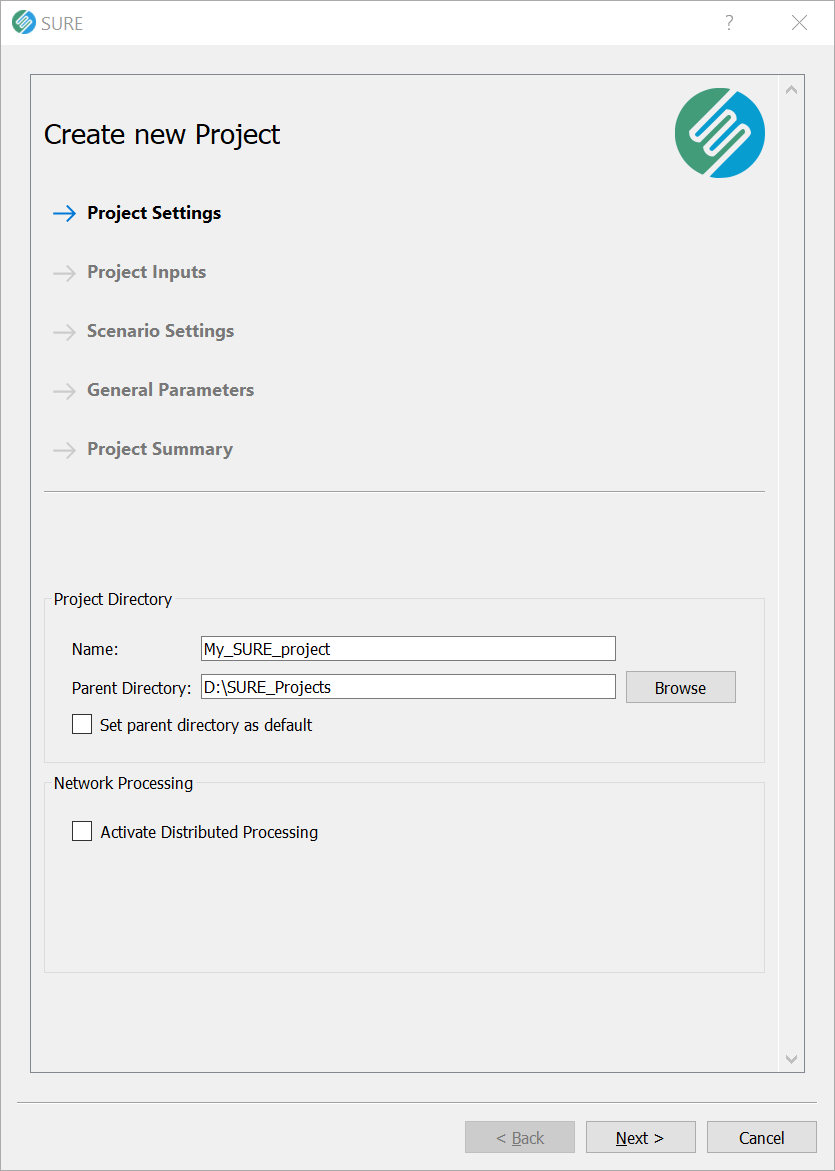
Page 1 - Project Settings
SURE will create a folder named after the Project Name in the Parent Directory. All files created by SURE during processing will be stored in this project folder. The default path for the Parent Directory can be set via the Preference Panel.
Page 2 - Project Resources
The locations of the orientation and image data are specified on the second page of the wizard.
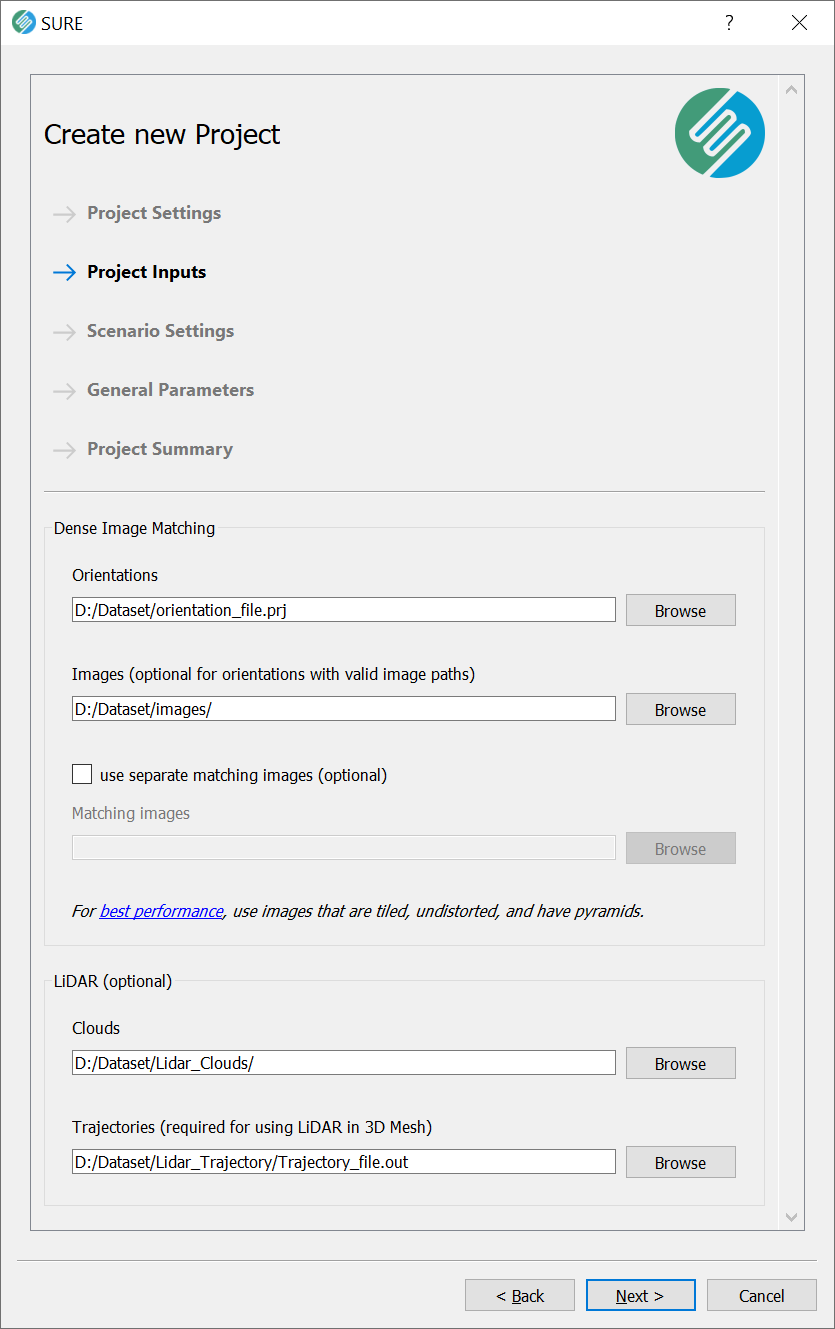
Orientations
If the orientation data is spread over multiple files, each corresponding to an image (e.g. *.gori files), the folder containing the orientation files must be specified. Alternatively, if the orientation information is contained in a single file (e.g. *.prj file), you should specify the path to the respective file.
See also: Orientation formats
Images
Input Images may be specified in one of these ways:
A folder directly containing the image files (not in sub-directories)
A *.txt list containing the absolute or relative file path to each input image in a new line (e.g. use case: image files are spread throughout various directories or using only a subset of images).
If both color and panchromatic data are available, SURE offers the option to use them separately. The panchromatic images are used directly for matching while the color information is used to apply the texture to the output products. In this case, the color imagery must be specified as Images and the panchromatic data as Separate Matching Images.
16 Bit imagery should be used if available. If only 8 Bit color images, but 16 Bit panchromatic images are available, please use the "separate matching images" option. If 16 Bit RGB or RGBI images are available, this is not necessary, since the results are nearly identical.
See also Input Images
LiDAR (optional)
LiDAR data can be used as input in SURE if available. You can specify a *.las point cloud, a folder that contains the point clouds, or a list of LiDAR point clouds as *.txt file.
See also: LiDAR integration in SURE
Page 3 - Scenario Settings
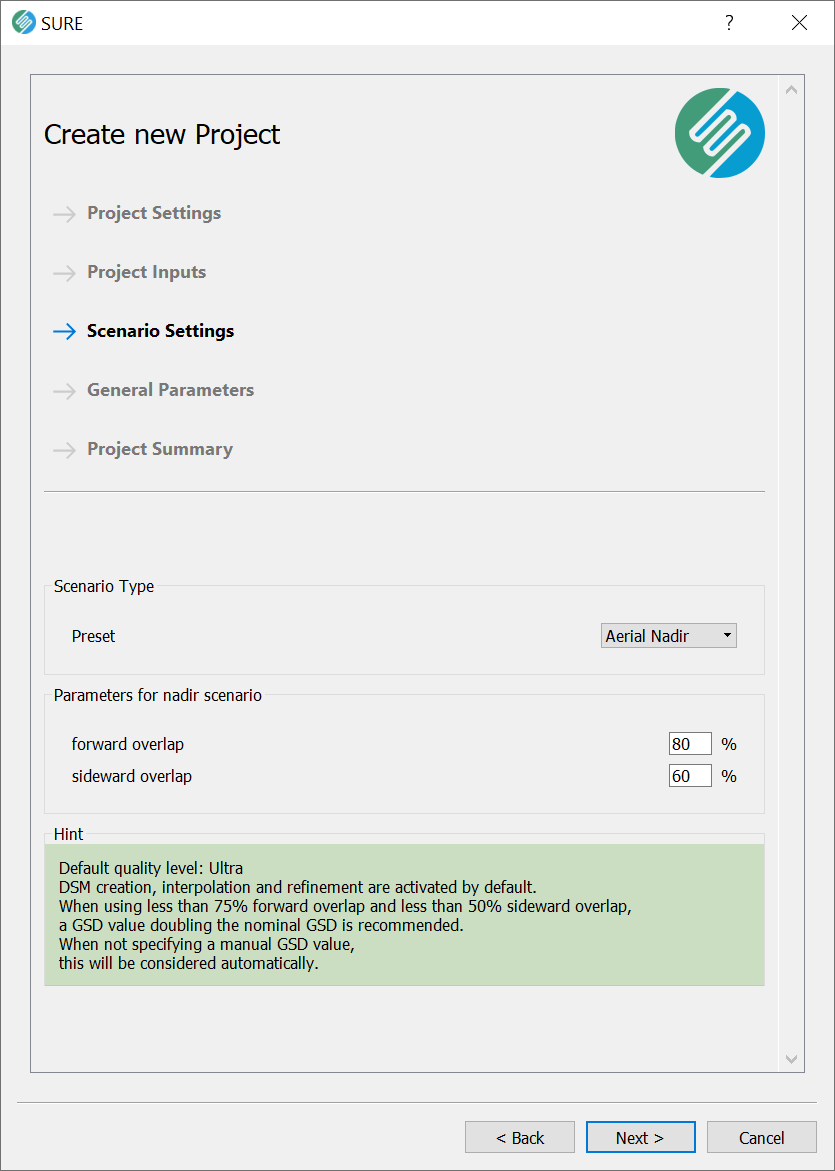
Depending on the particularities of the input data, the Scenario is the most important parameter you have to specify. Given the Scenario, SURE automatically sets internal parameters and optimizes the workflows.
See also: Scenario
Page 4 - General Parameters
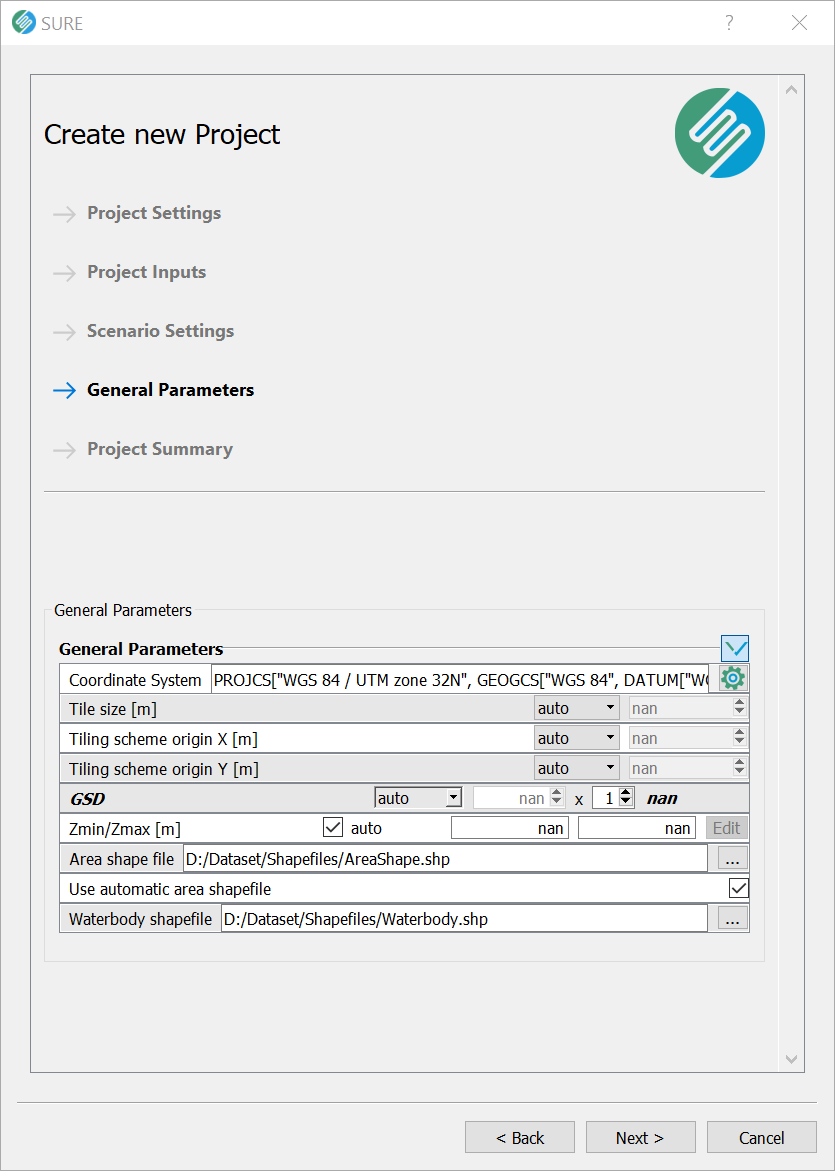
On this page, you can optionally modify some commonly used parameters, such as
Tile Size & Tiling Scheme Origin
GSD or output resolution
processing area
You can also leave some or all of these parameters to be determined automatically by SURE later on.
Additionally, you can specify the
WKT formatted project coordinate system in order to create consistently georeferenced results
waterbody Shapefile in order to enhance your surface models (Interpolated DSM & Mesh) as well as True Ortho.
Page 5 - Project Summary
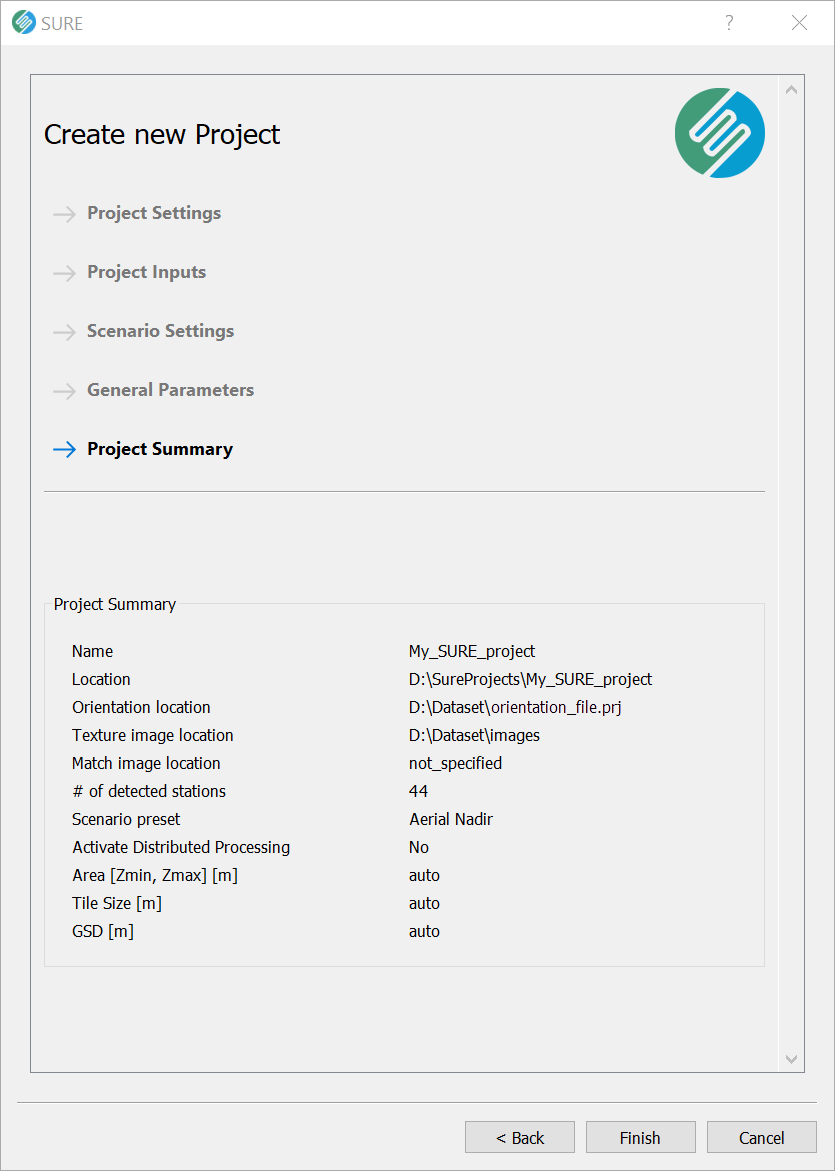
Project creation is summarized and can be confirmed on the last page of the wizard.
Loading an existing SURE project file (.spr)
An already created SURE project can be reloaded by opening the Project.spr file in the SURE processing folder, which had been created during the initial project setup.
This can either be done by selecting the Project.spr file via the welcome screen, the File menu, or by drag & drop onto the SURE executable.