How to get an .nvm file from VisualSFM
This tutorial is based on the basic guidelines available on the official VisualSFM website. For advanced usage or technical details, please take a look on the available software documentation.
It is also possible to automate your tasks by scripting or batching by using the available command line interface.
Step 1: Add images to your workspace
First of all, be aware that VisualSFM only supports JPG, PPM, and PGM image files. You will not be able to import other file types unless converted to one of these 3 formats.
You can add your images in 2 different ways:
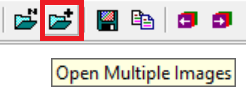
Option 1: "File → Open Multi Images" or the equivalent icon on the toolbar.
In this option, you can:
import image files individually or a group of images;
import a text file containing the relative image paths
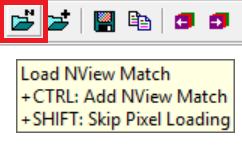
Option 2: "SfM → Load NView Match" or the equivalent icon in the toolbar.
With this option, you can:
select a folder where all your JPG image files are stored (only JPG in this case). This will import your images;
import your ground control points (.gcp, .gcpx);
import a Bundler OUT file for viewing purposes (.out);
import an NView Match file (.nvm, .txt)
If you already selected one of the mentioned import possibilities, you will be able to import more files. For instance, you selected a set of images, but you would also like to use your measured GCP for the bundle adjustment. Then you should:
"SfM → Add NView Match";
OR
Select the equivalent icon in the toolbar while pressing CTRL.
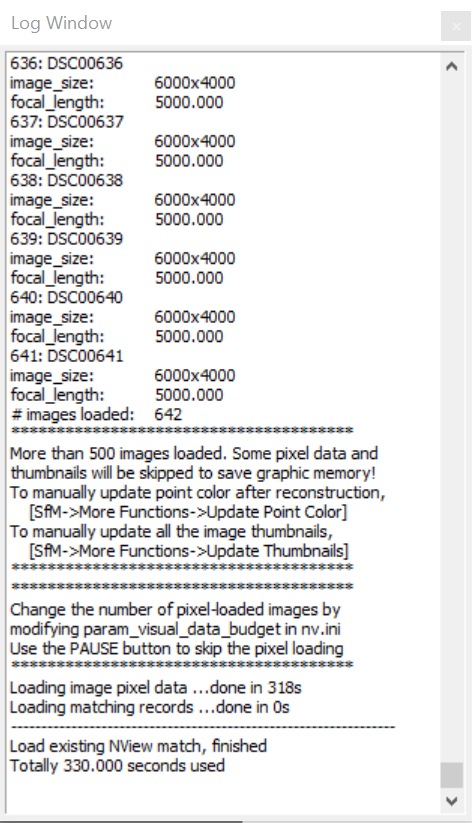
Once you select the images to use in your project, wait for them to be loaded. You can check the progress in the Log Window.
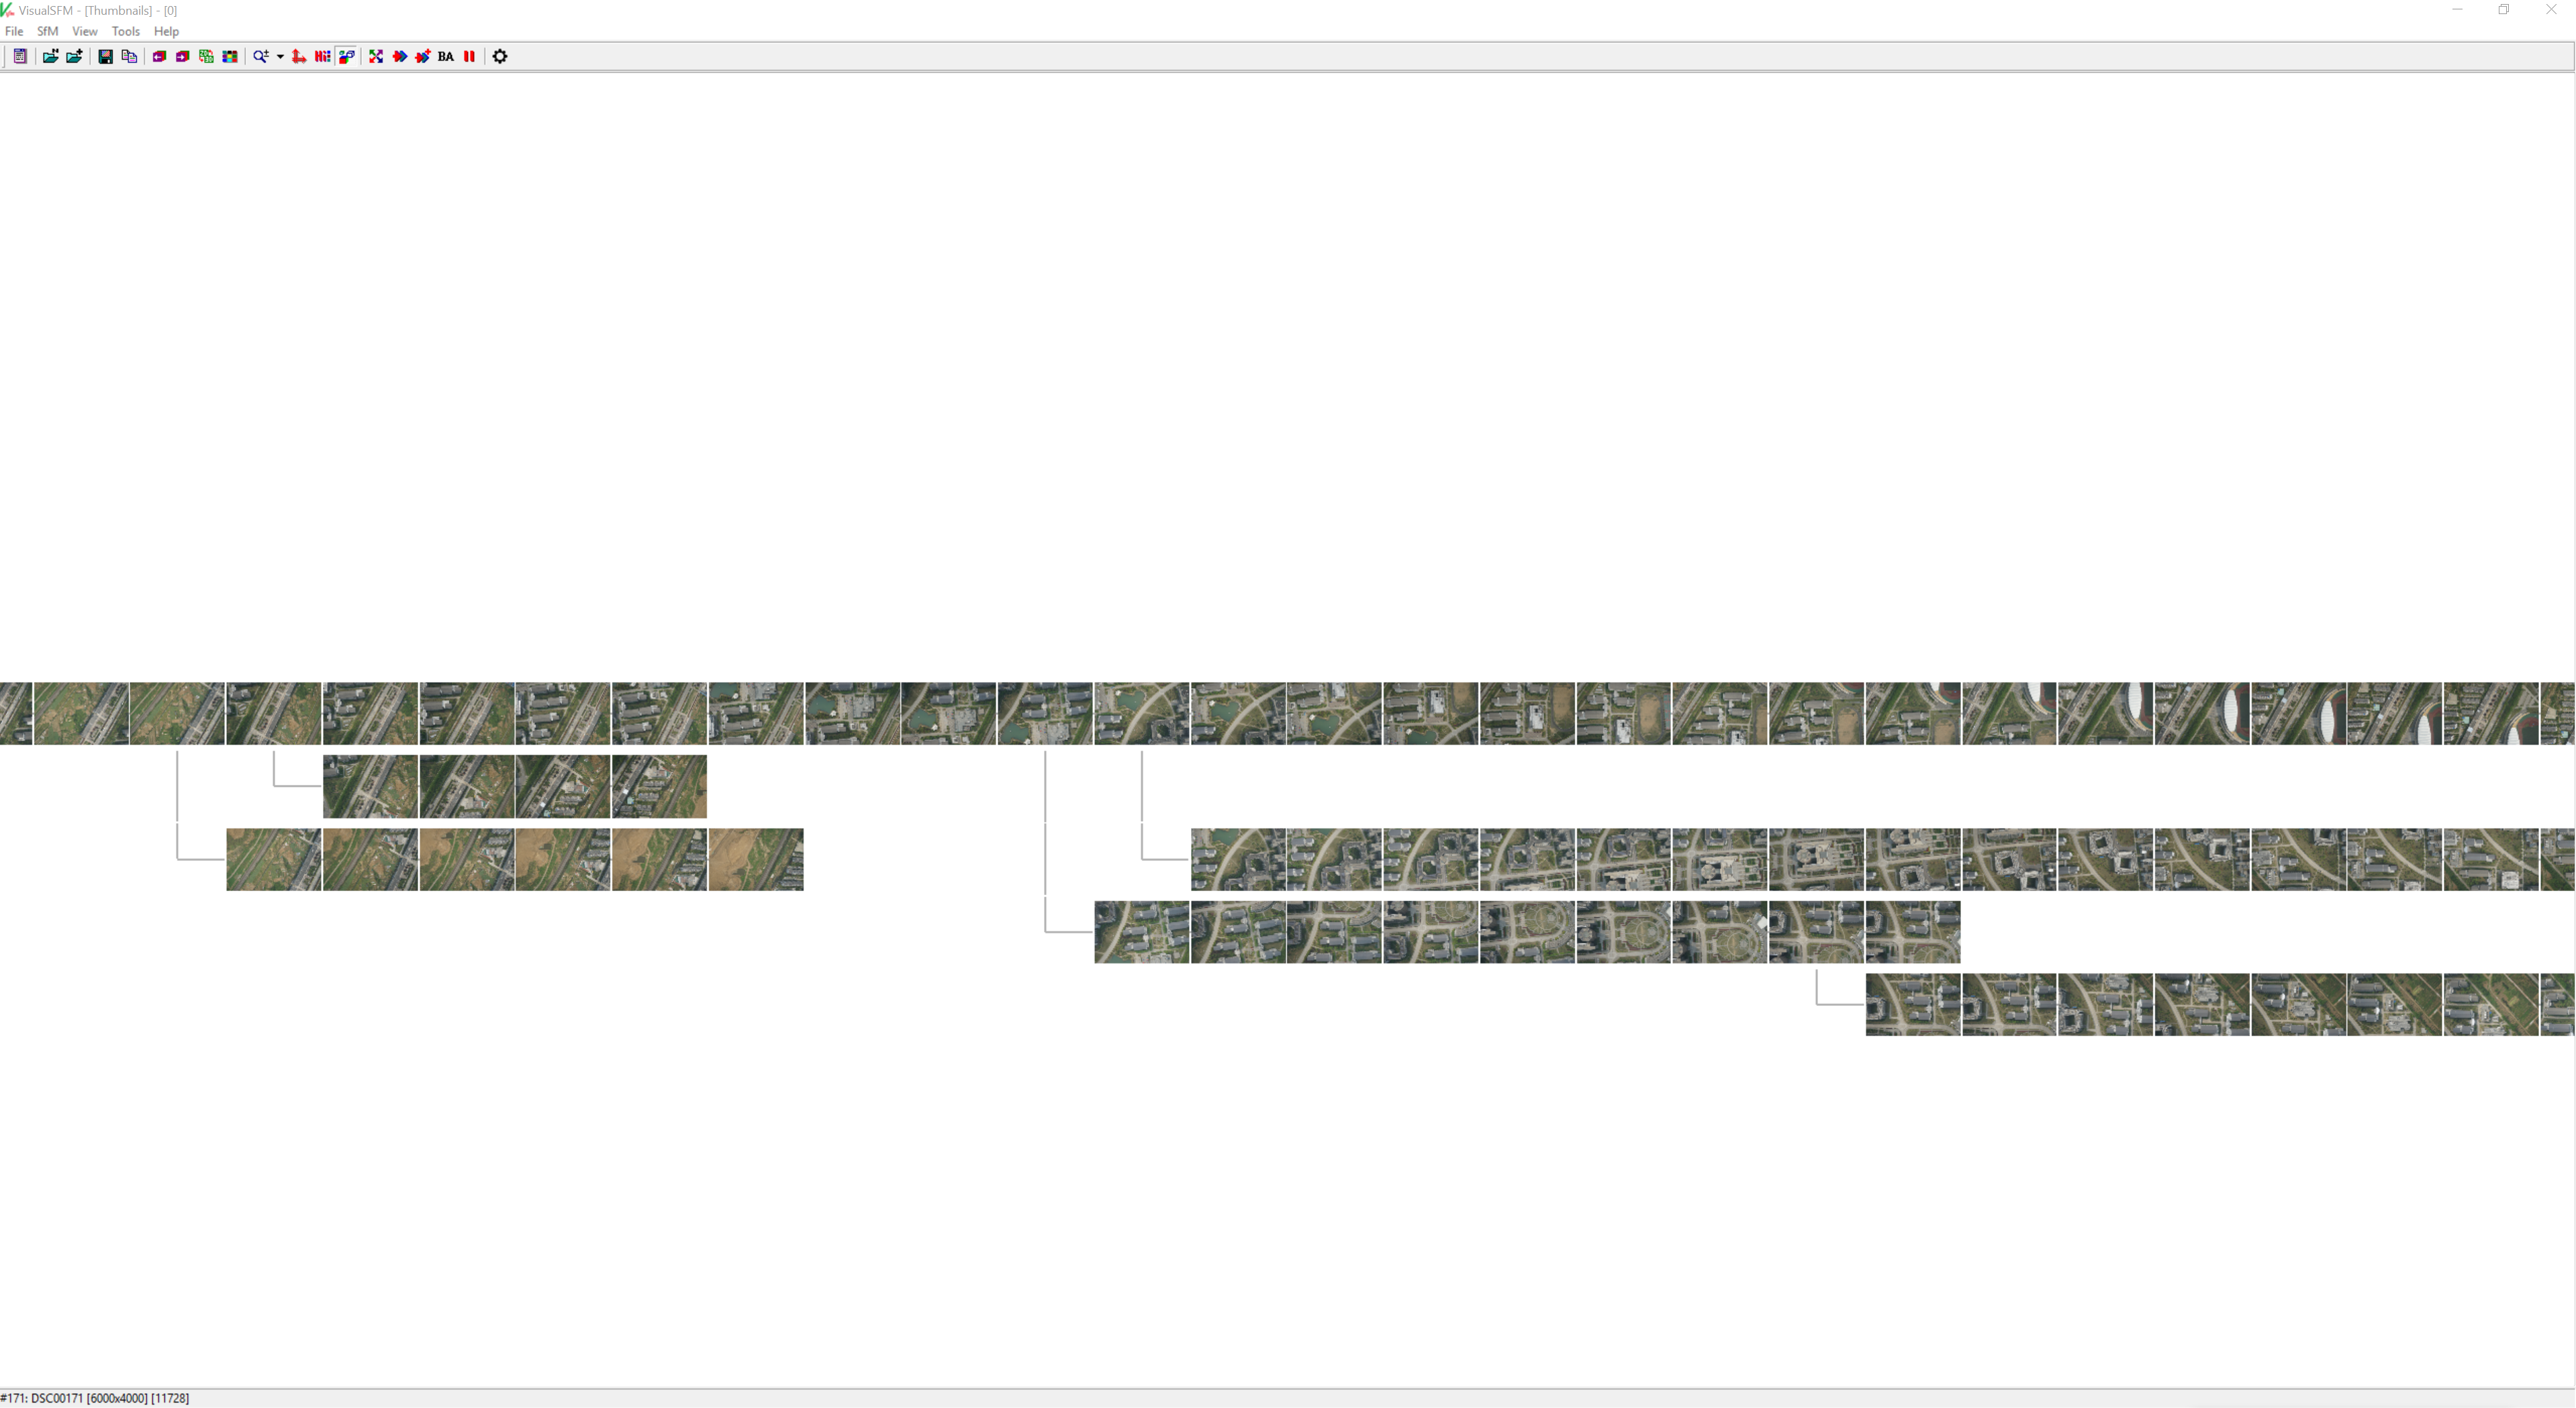
Once this process is done, they should appear in your workspace.
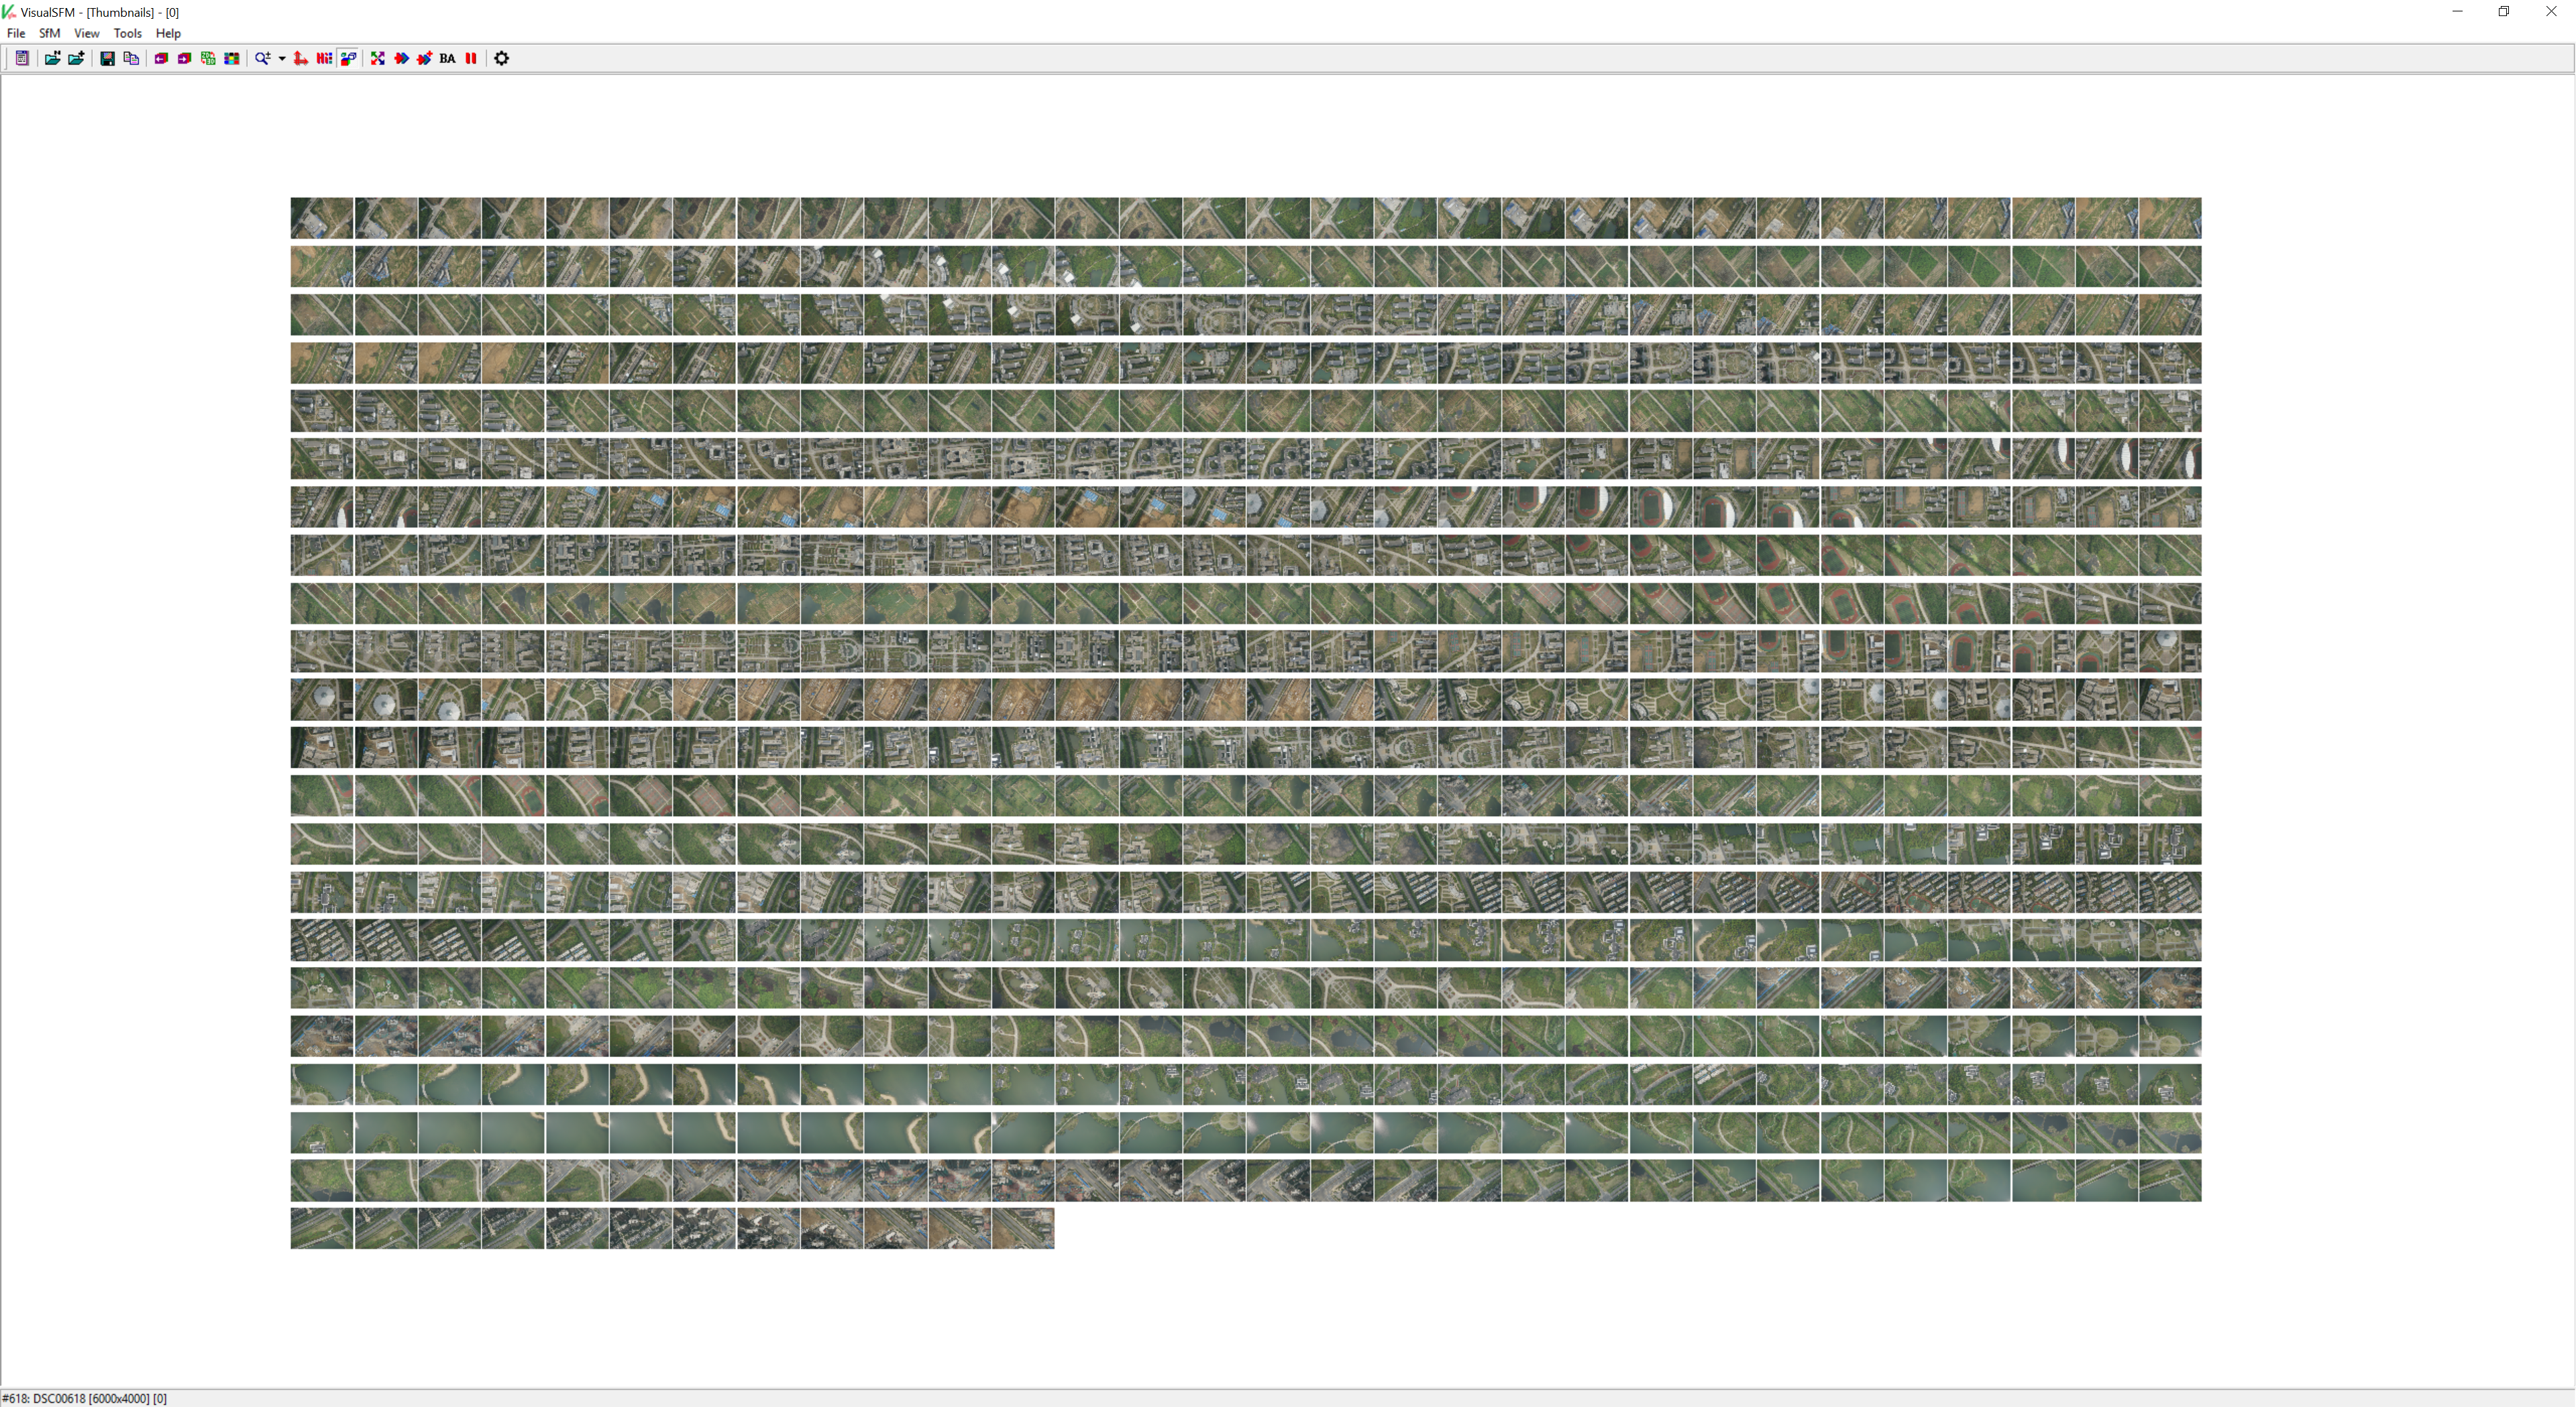
In case images are not appearing in your workspace
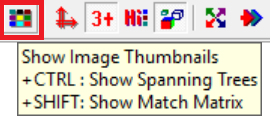
Press the "Show image Thumbnails" on the toolbar or "View → Image Thumbnails"
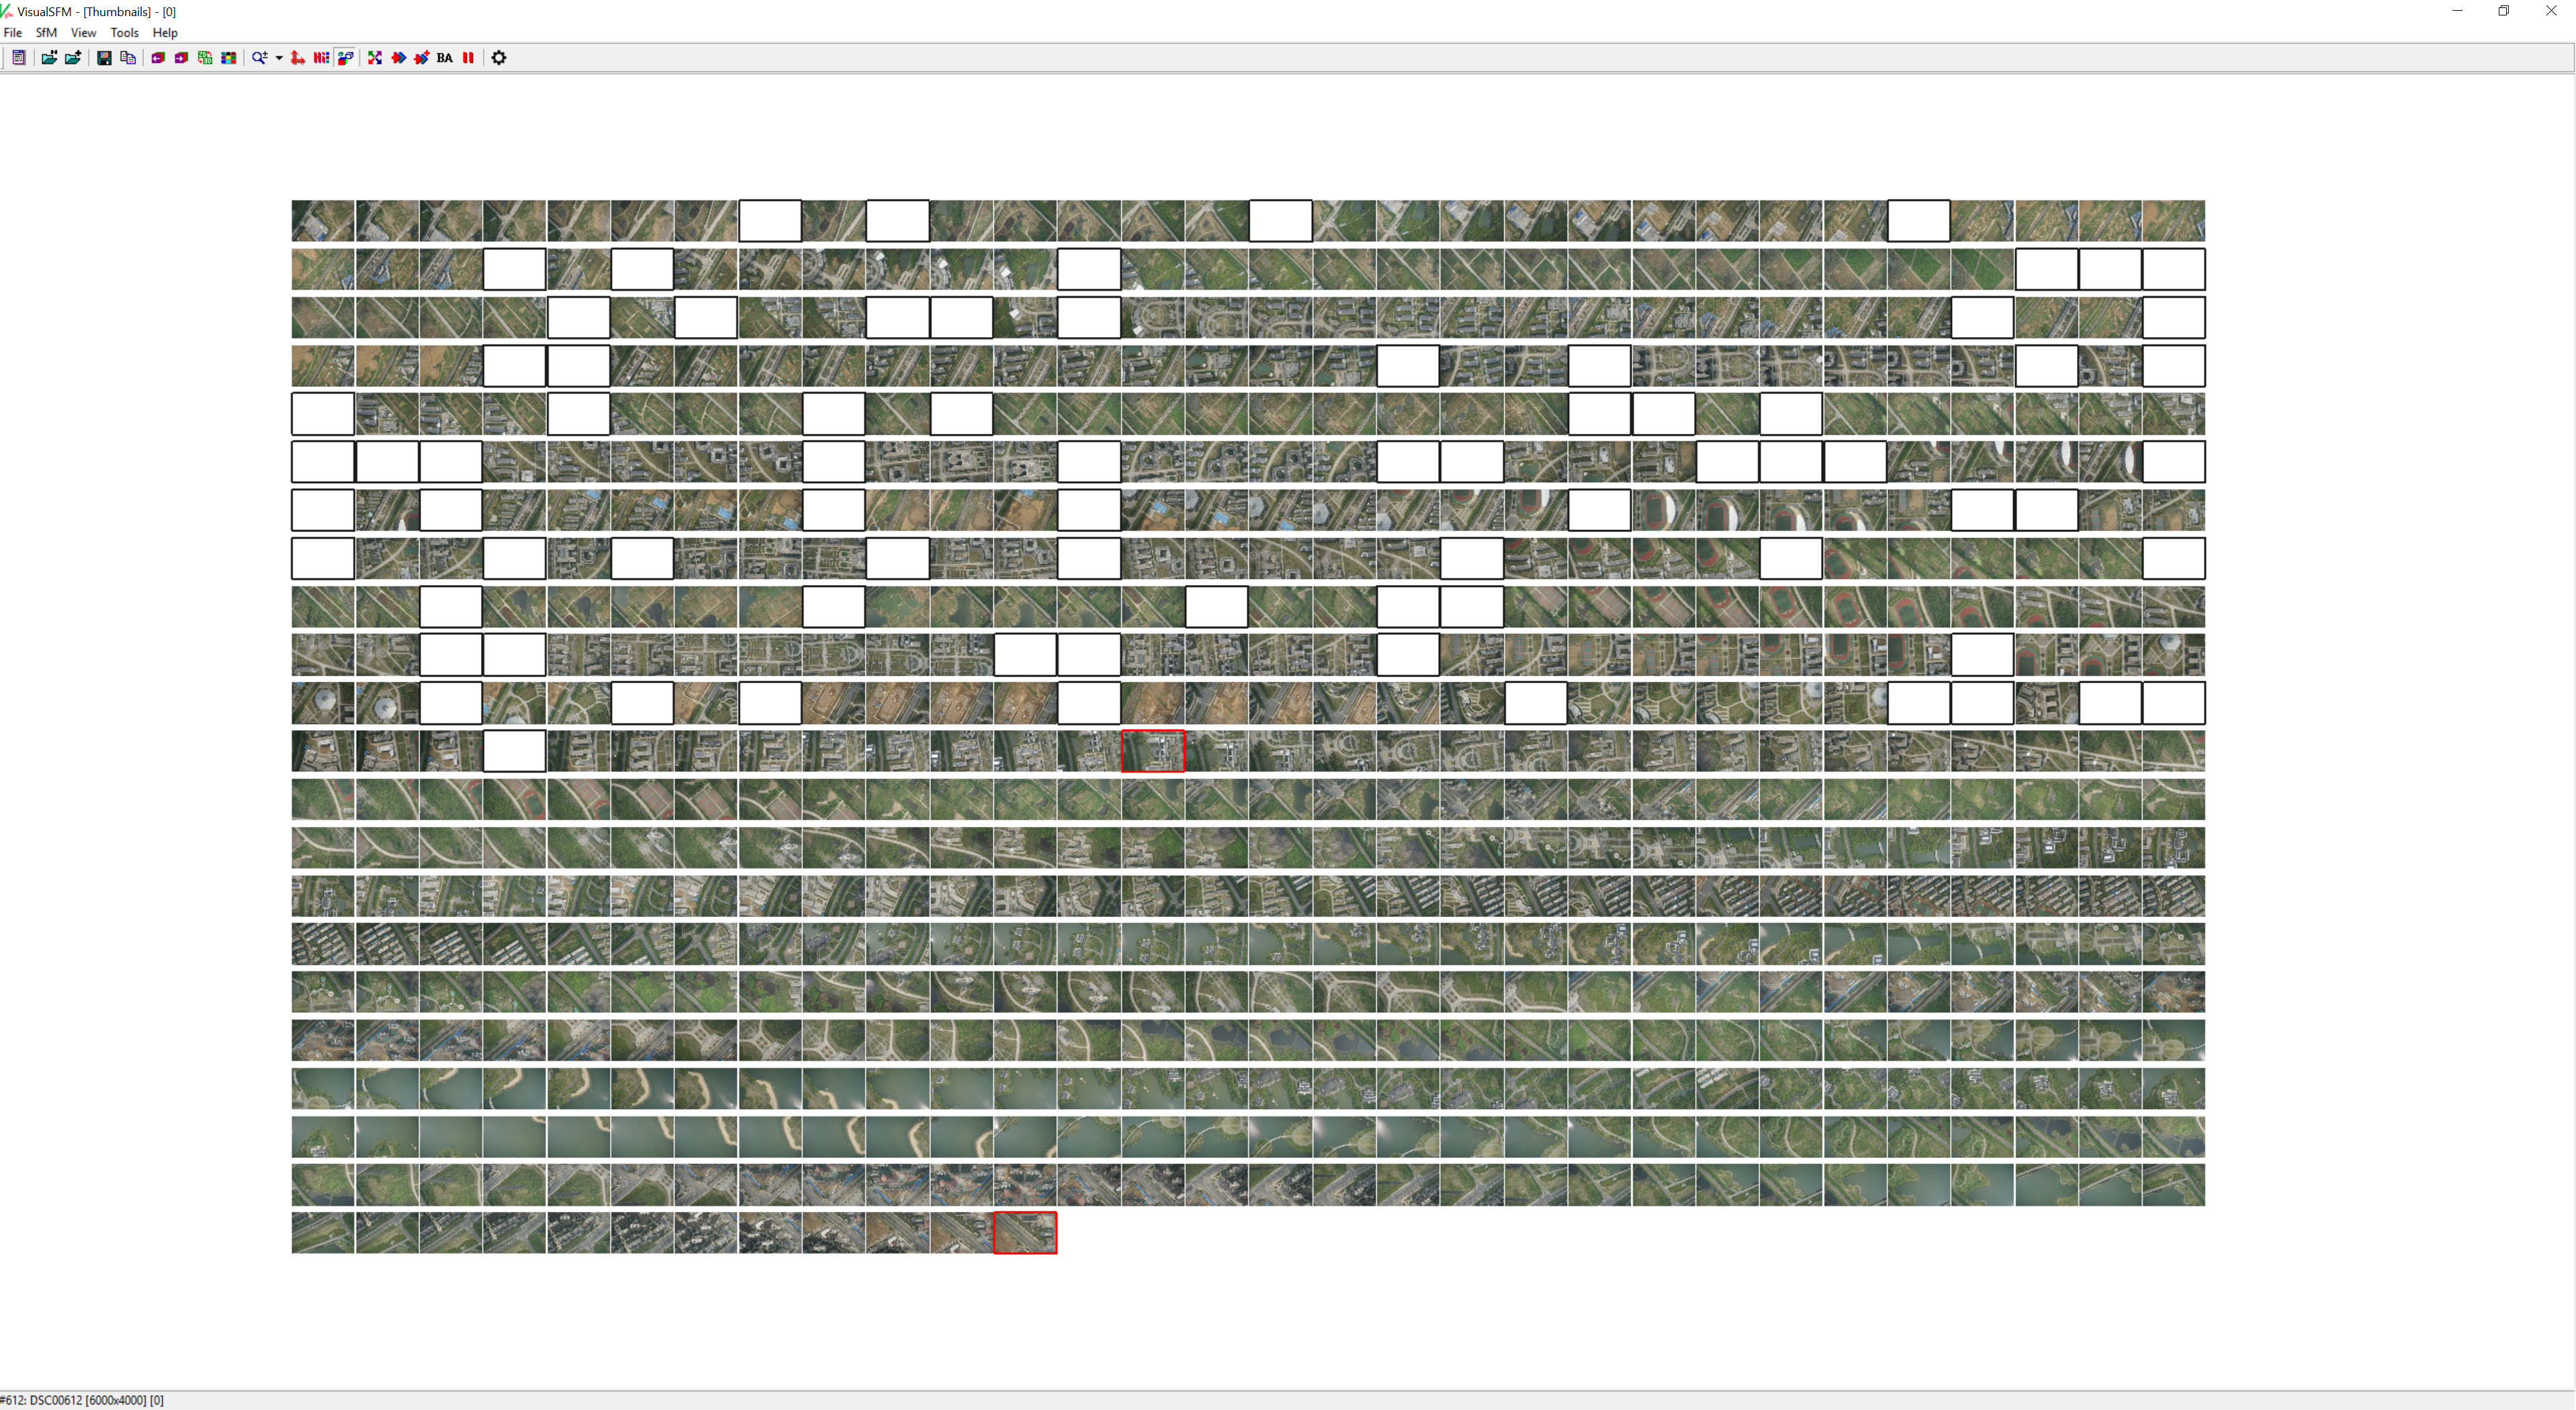
In case some images are not appearing on the set
The image has actualy been loaded. In order to save graphic memory, some pixel data and thumbnails are skipped.
To update the image information you can do the following:
To manually update the point color after reconstruction go to "SfM → More Functions → Update point color"
To manually update all the image thumbnails go to "SfM → More Functions → Update Thumbnails" and wait for the image thumbnail to load. Always check your Log Window to make sure the process is not yet finished. Repeat this process if needed.
You can click on each blank space to quickly load the image. Then just press the "Show image Thumbnails" to return to the whole set view.
Step 2: Run feature detection & full pairwise image matching
During this step, features on the pictures will be detected using SIFT algorithm in order to be able to match the pictures in an initial approximation before the bundle adjustment.
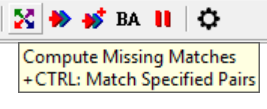
To do it, simply go to "SfM → Pairwise Matching → Compute missing match" or simply click on the icon located in the toolbar.
You can also:
Match specific images by going to "SfM → Pairwise Matching → Compute specified match" or clicking in the toolbar icon while pressing CTRL
You can also match a specific sequence of images by going to "SfM → Pairwise Matching → Compute Sequence Match"
You can customize the feature detection. To know more about this customization process or about advanced pairwise matching options, please read the available software documentation.
Once the process is done (check the log window), you will have a SIFT file (stores all the detected SIFT features) and a MAT file (stores the feature matches) for each of your images.
You will now be able to see the pictures in your workspace in two new ways:
The spanning tree. Press the "Show image Thumbnails" on the toolbar + CTRL.
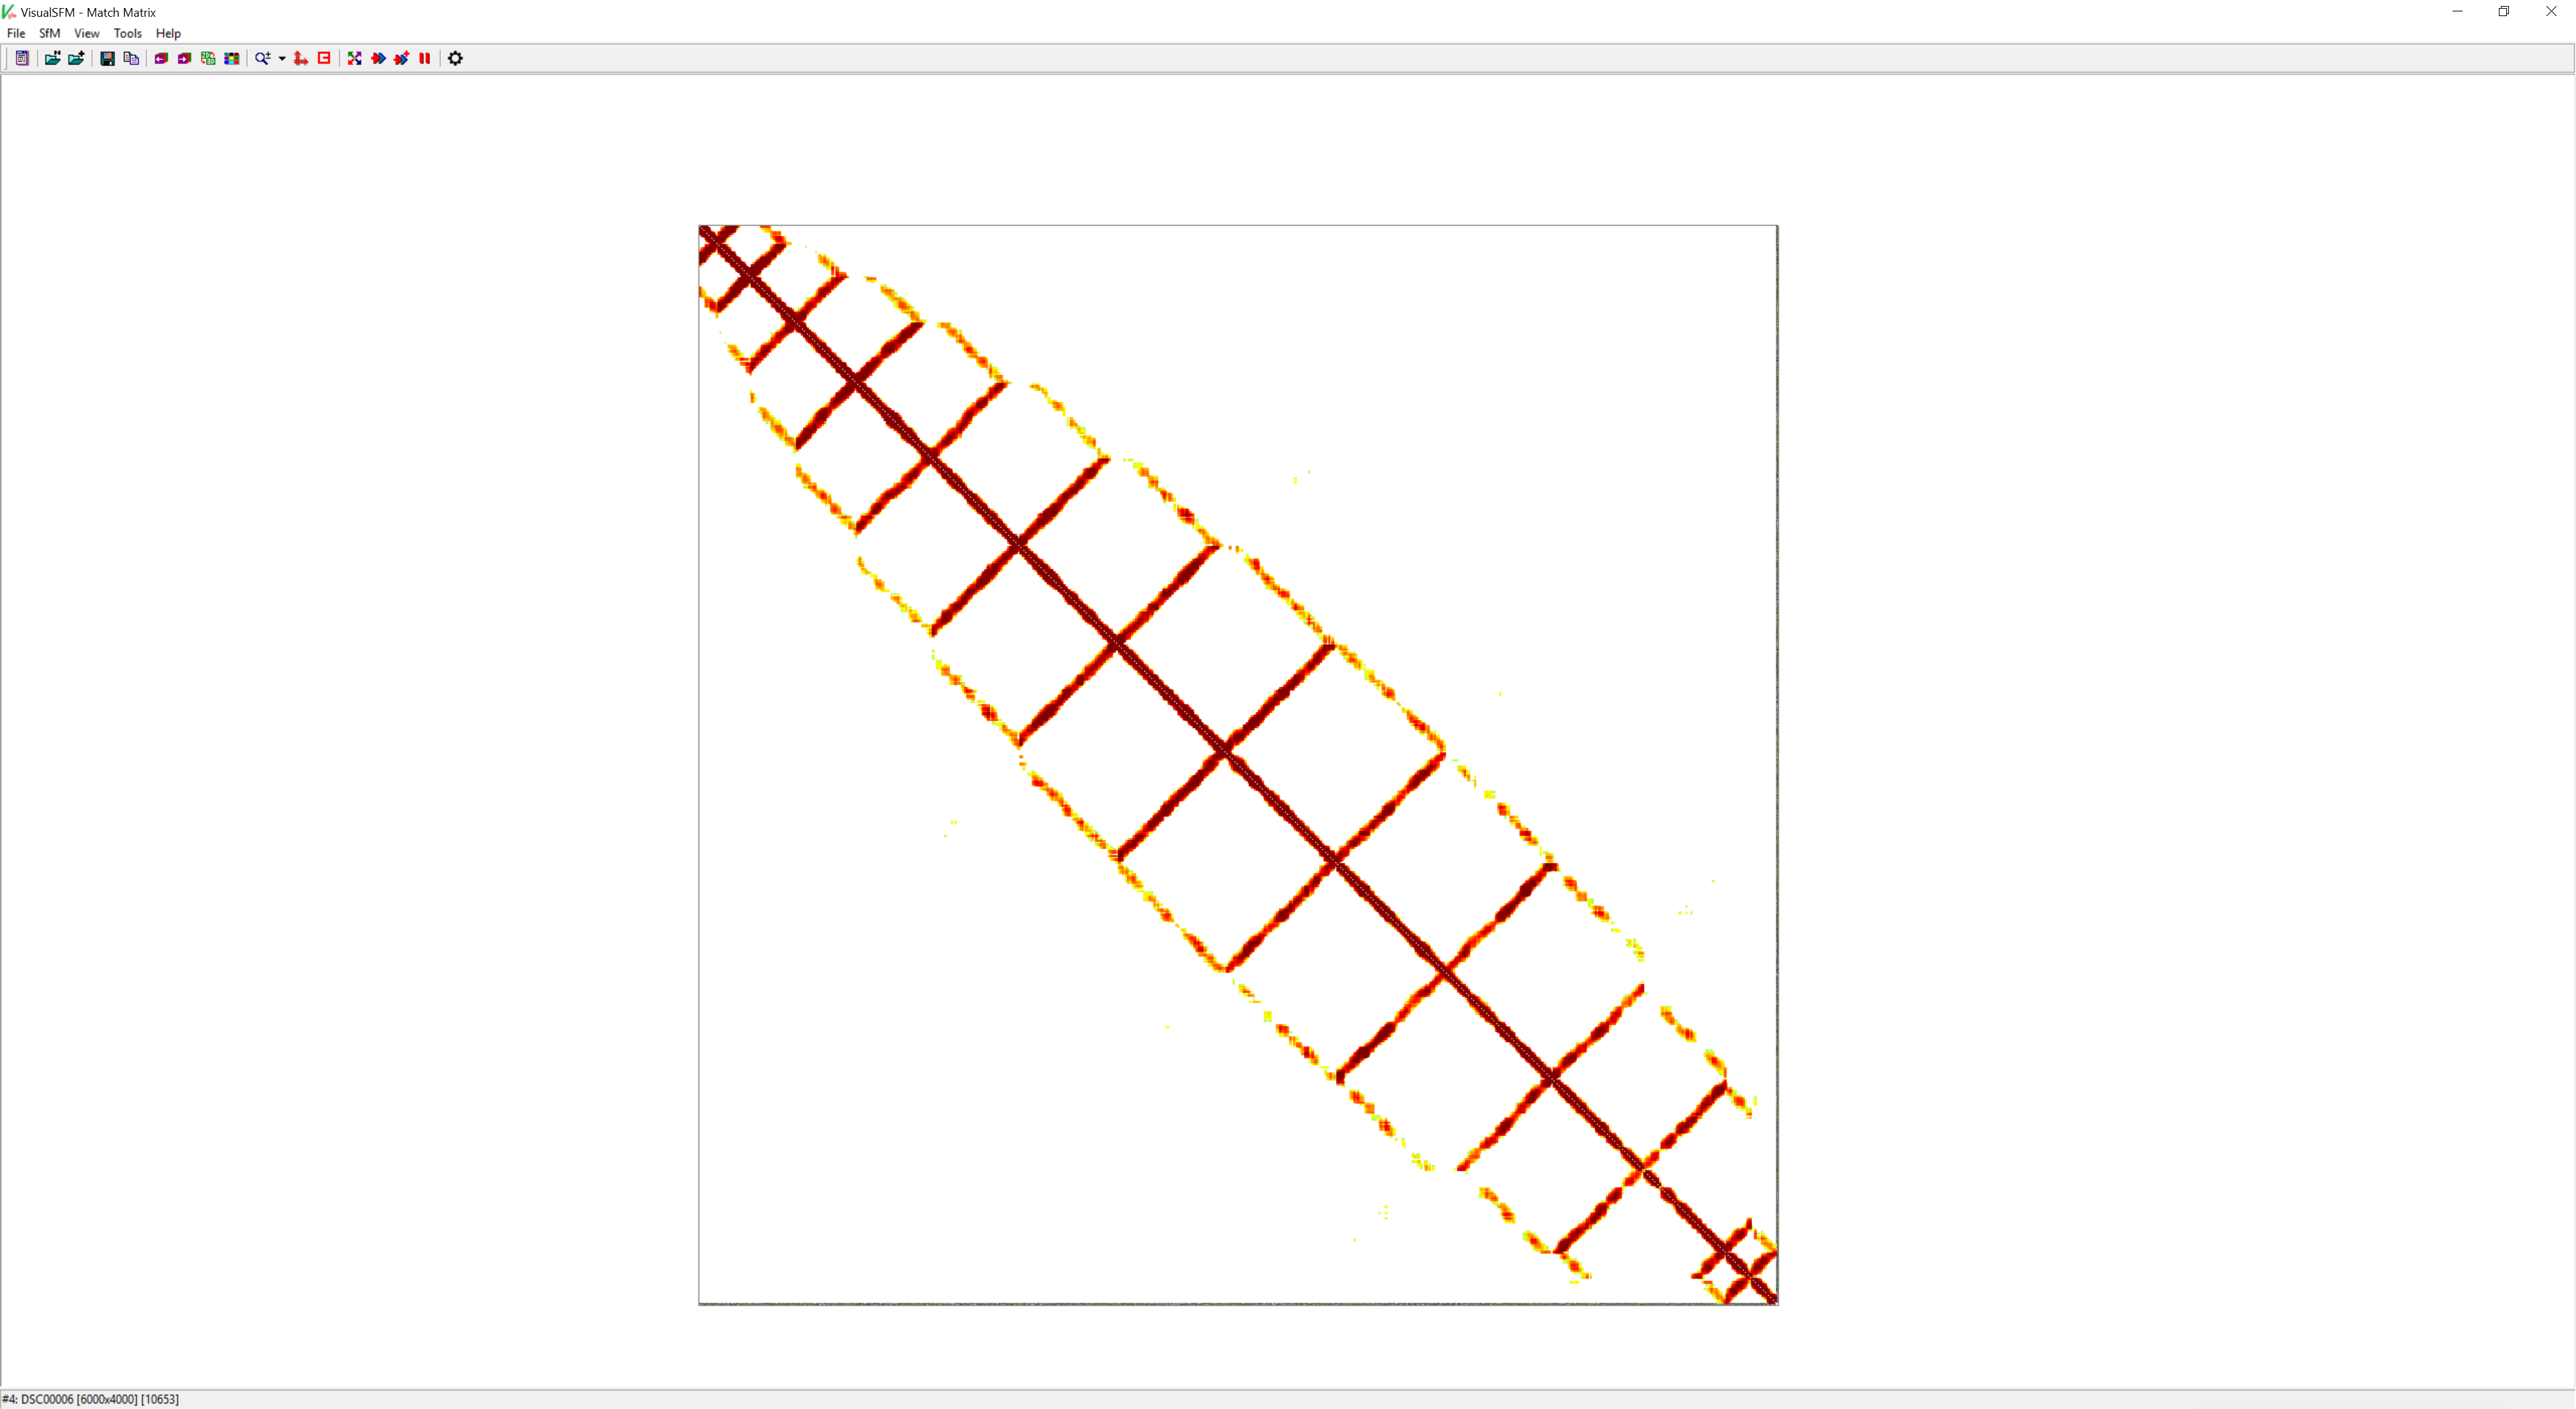
The match matrix. Press the "Show image Thumbnails" on the toolbar + SHIFT
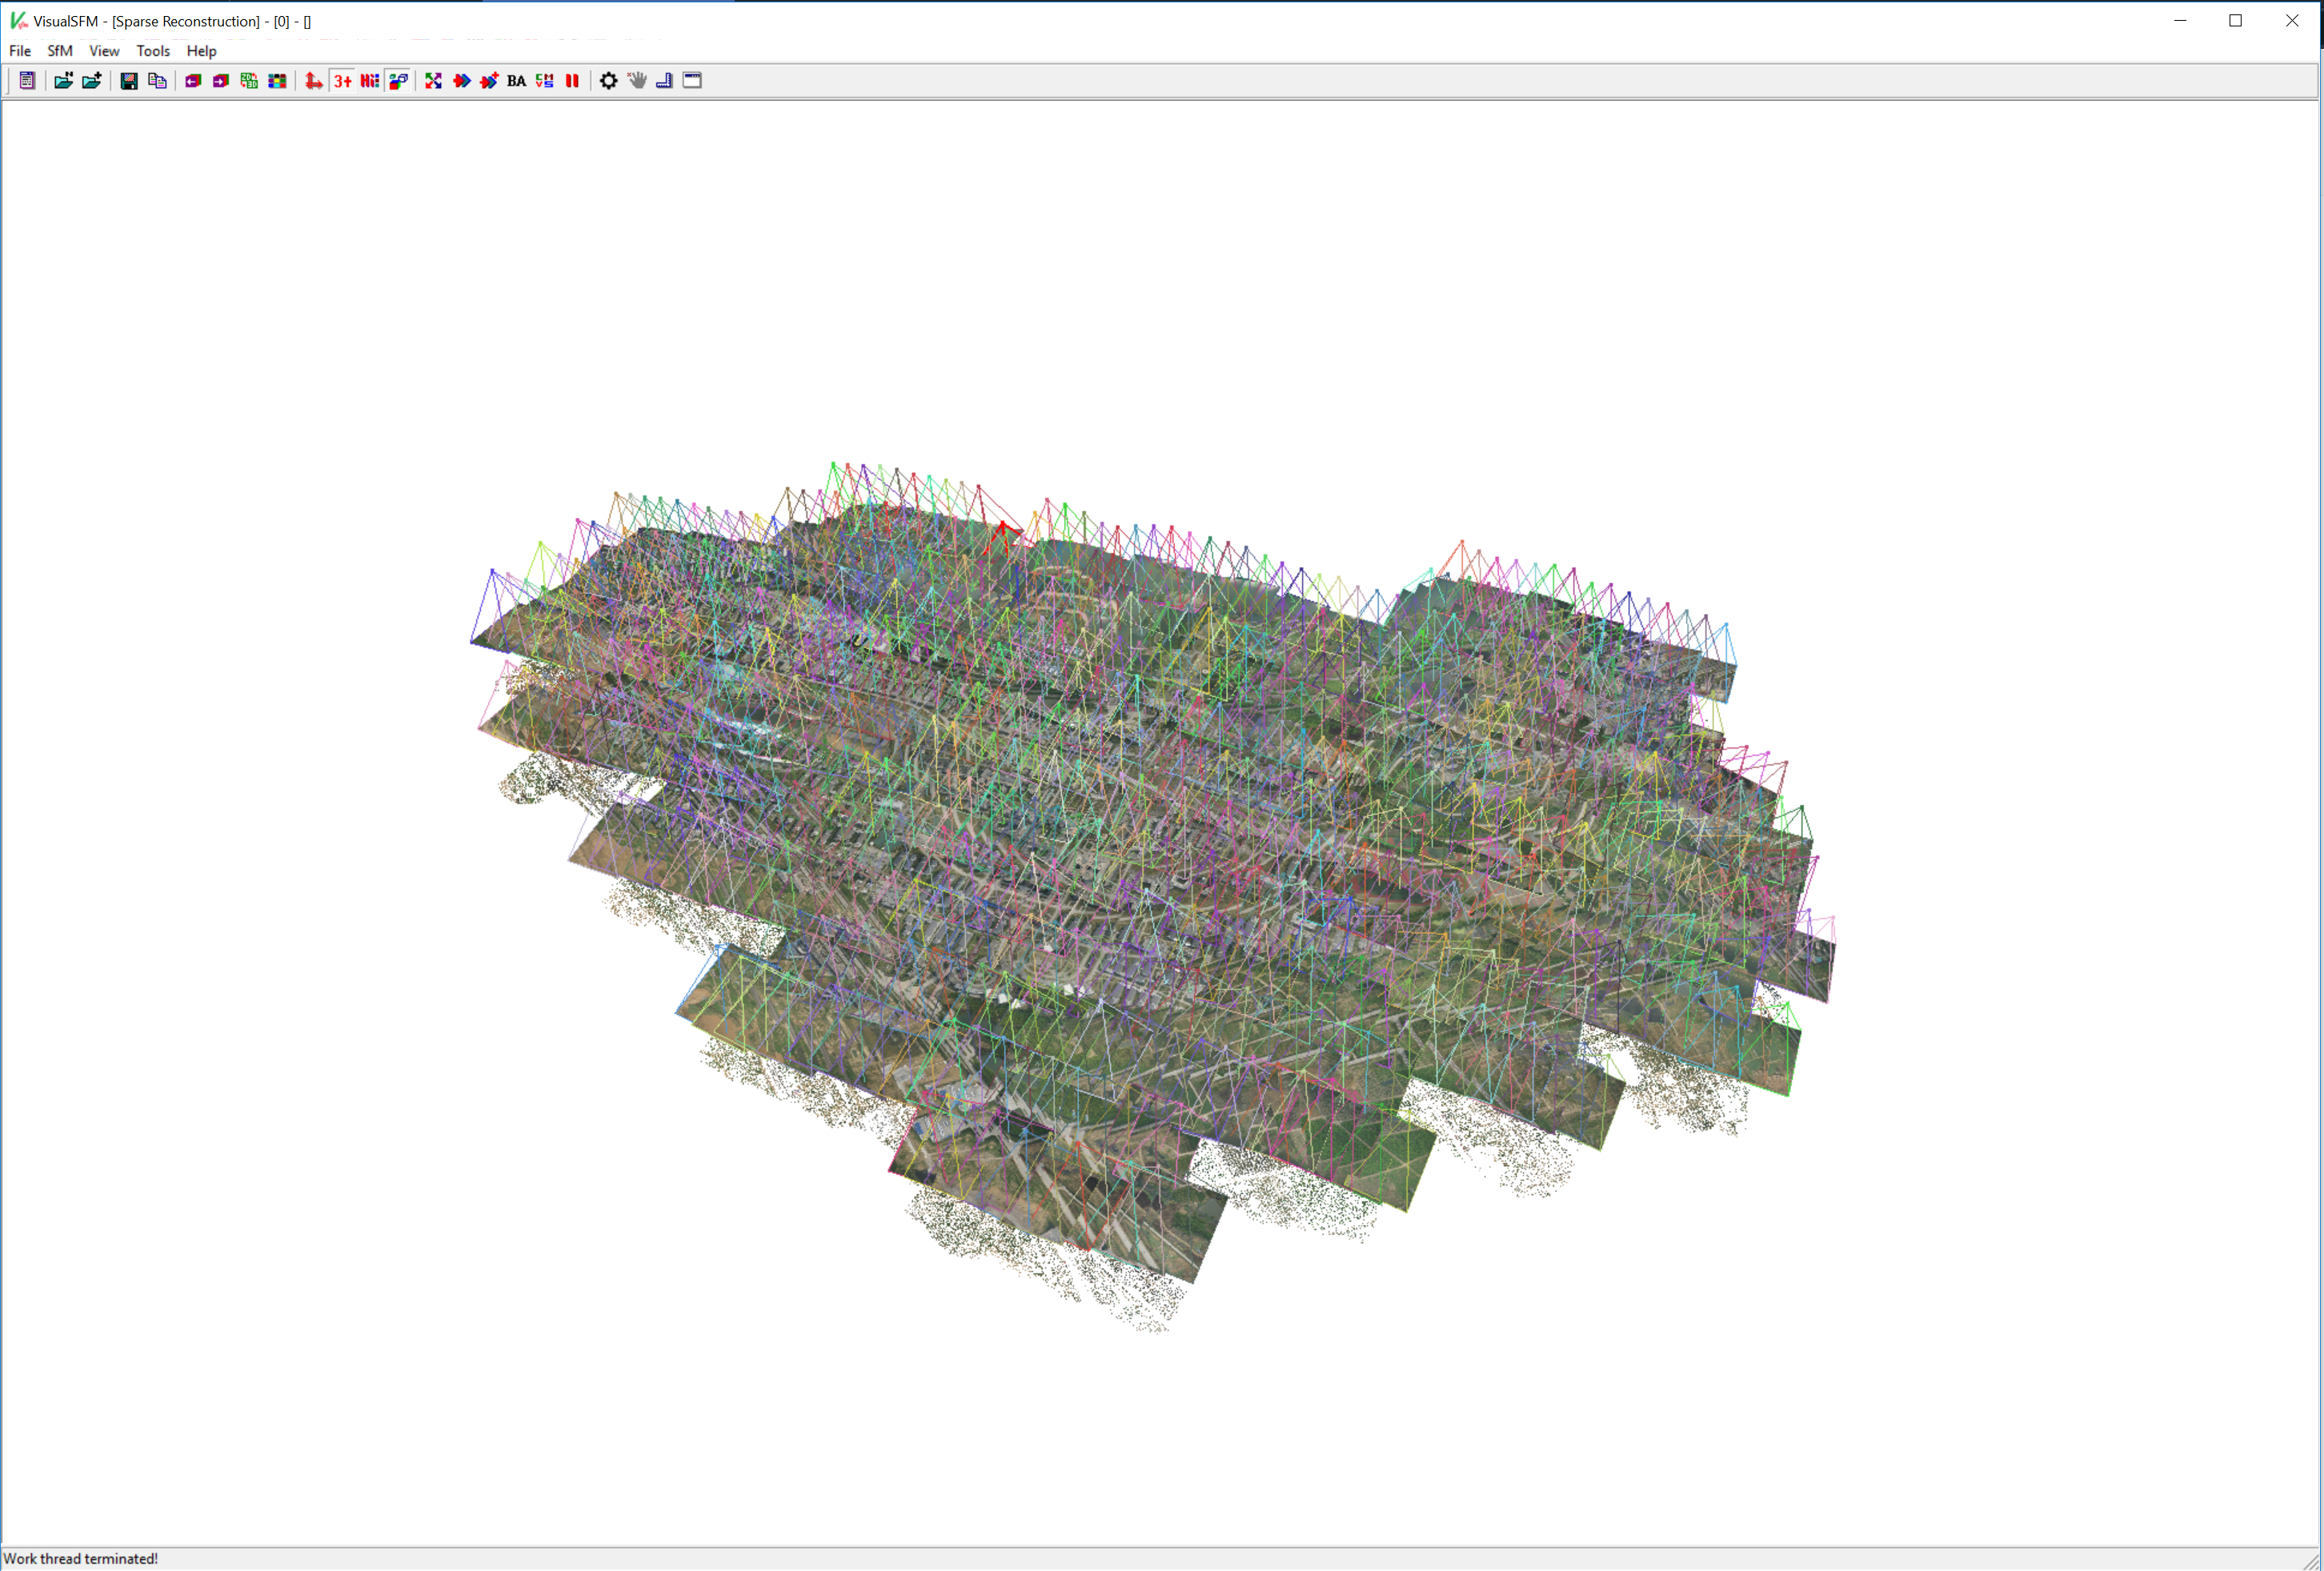
Step 3. Run sparse reconstruction
During this step, a Bundle Adjustment of your set will be made. This will use Multicore Bundle Adjustment automatically.
In order to do that, simply go to "SfM → Reconstruct Sparse" or click the corresponding button on the toolbar.

During the process, the pictures will be presented in your workspace in their real orientation and a point cloud for each picture is computed and displayed. Check the log Window to make sure the process has been terminated.
You can now save your NVM orientation file. To do that simply go to "SfM → Save NView Match" and choose the name and location for your orientation file.
Absolute path problems
Depending on where you select to save the NVM file, a relative path to the image will be written. This might have some issues when using the file in SURE, since Absolute paths are used.
To avoid this, save your file inside the same folder where your images are.
Step 3.1: (Optional) Dense matching
Alternatively, you can undistort the images priorly by using the Yasutaka Furukawa's CMVS/PMVS. In order to do this, you will need to obtain the CMVS package.
To start the Dense reconstruction, simply go to "SfM → Reconstruct Dense" or click the corresponding button on the toolbar.
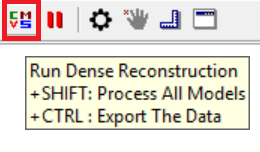
You will be prompted to save an NVM file and a new folder .nvm.cmvs will appear in your work folder.
After the Dense reconstruction, a Bundler OUT file can be found inside the new folder and you can use it as a orientation file.
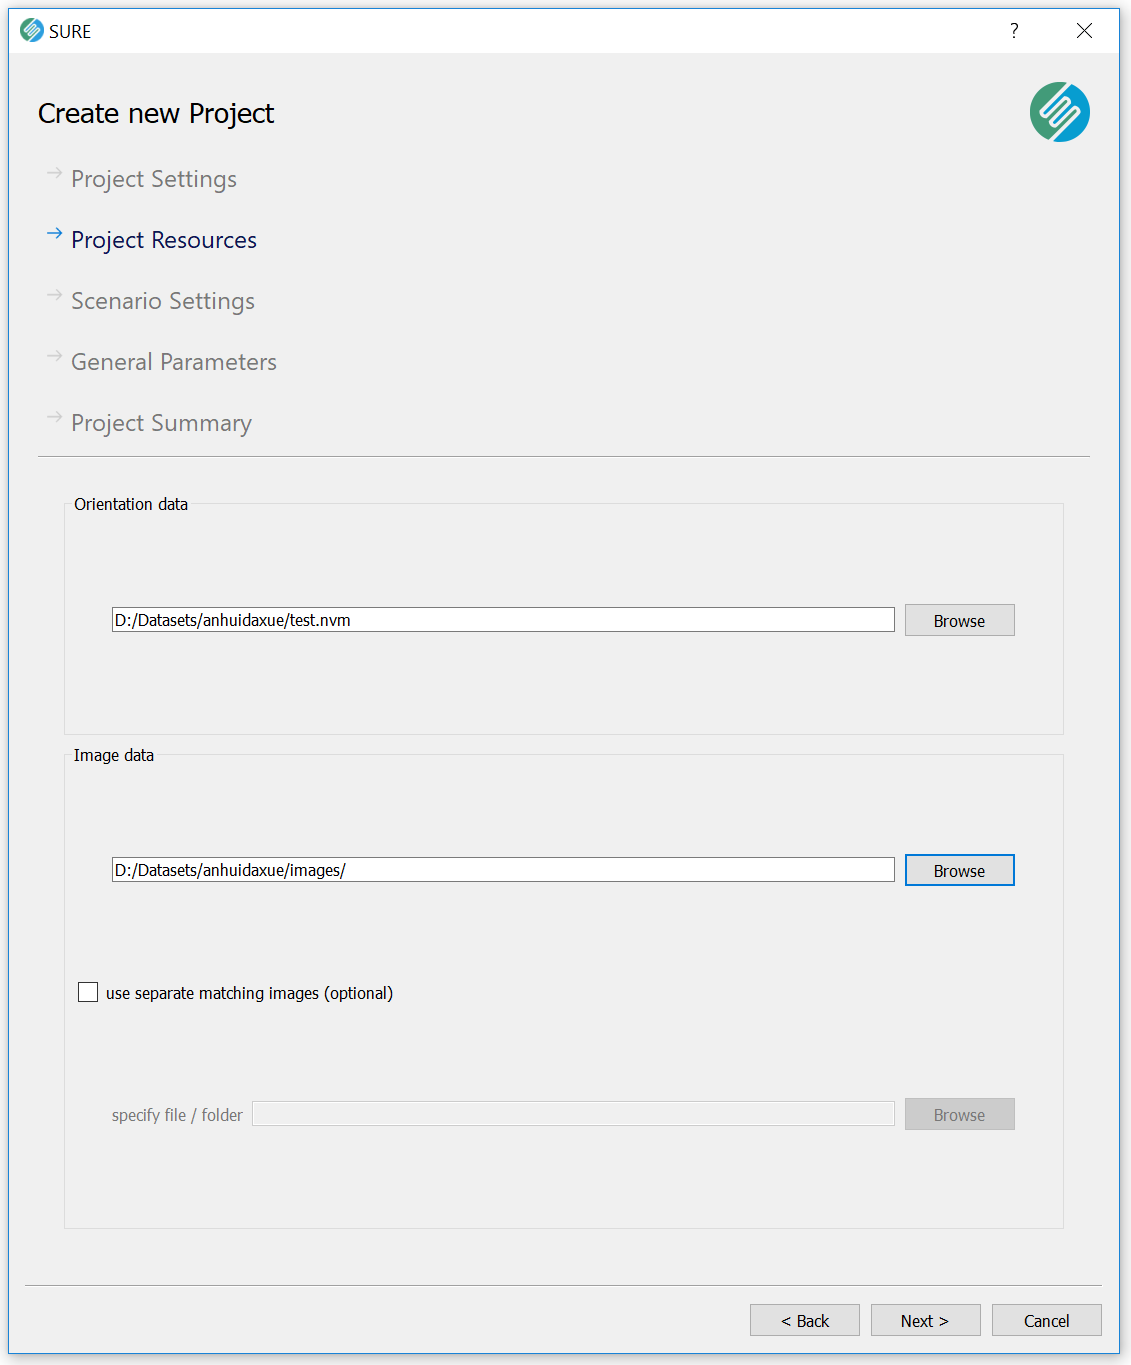
Step 4: Use the .nvm file on SURE
To use the output NVM file on SURE, simply create a new project and add it as your projection file.
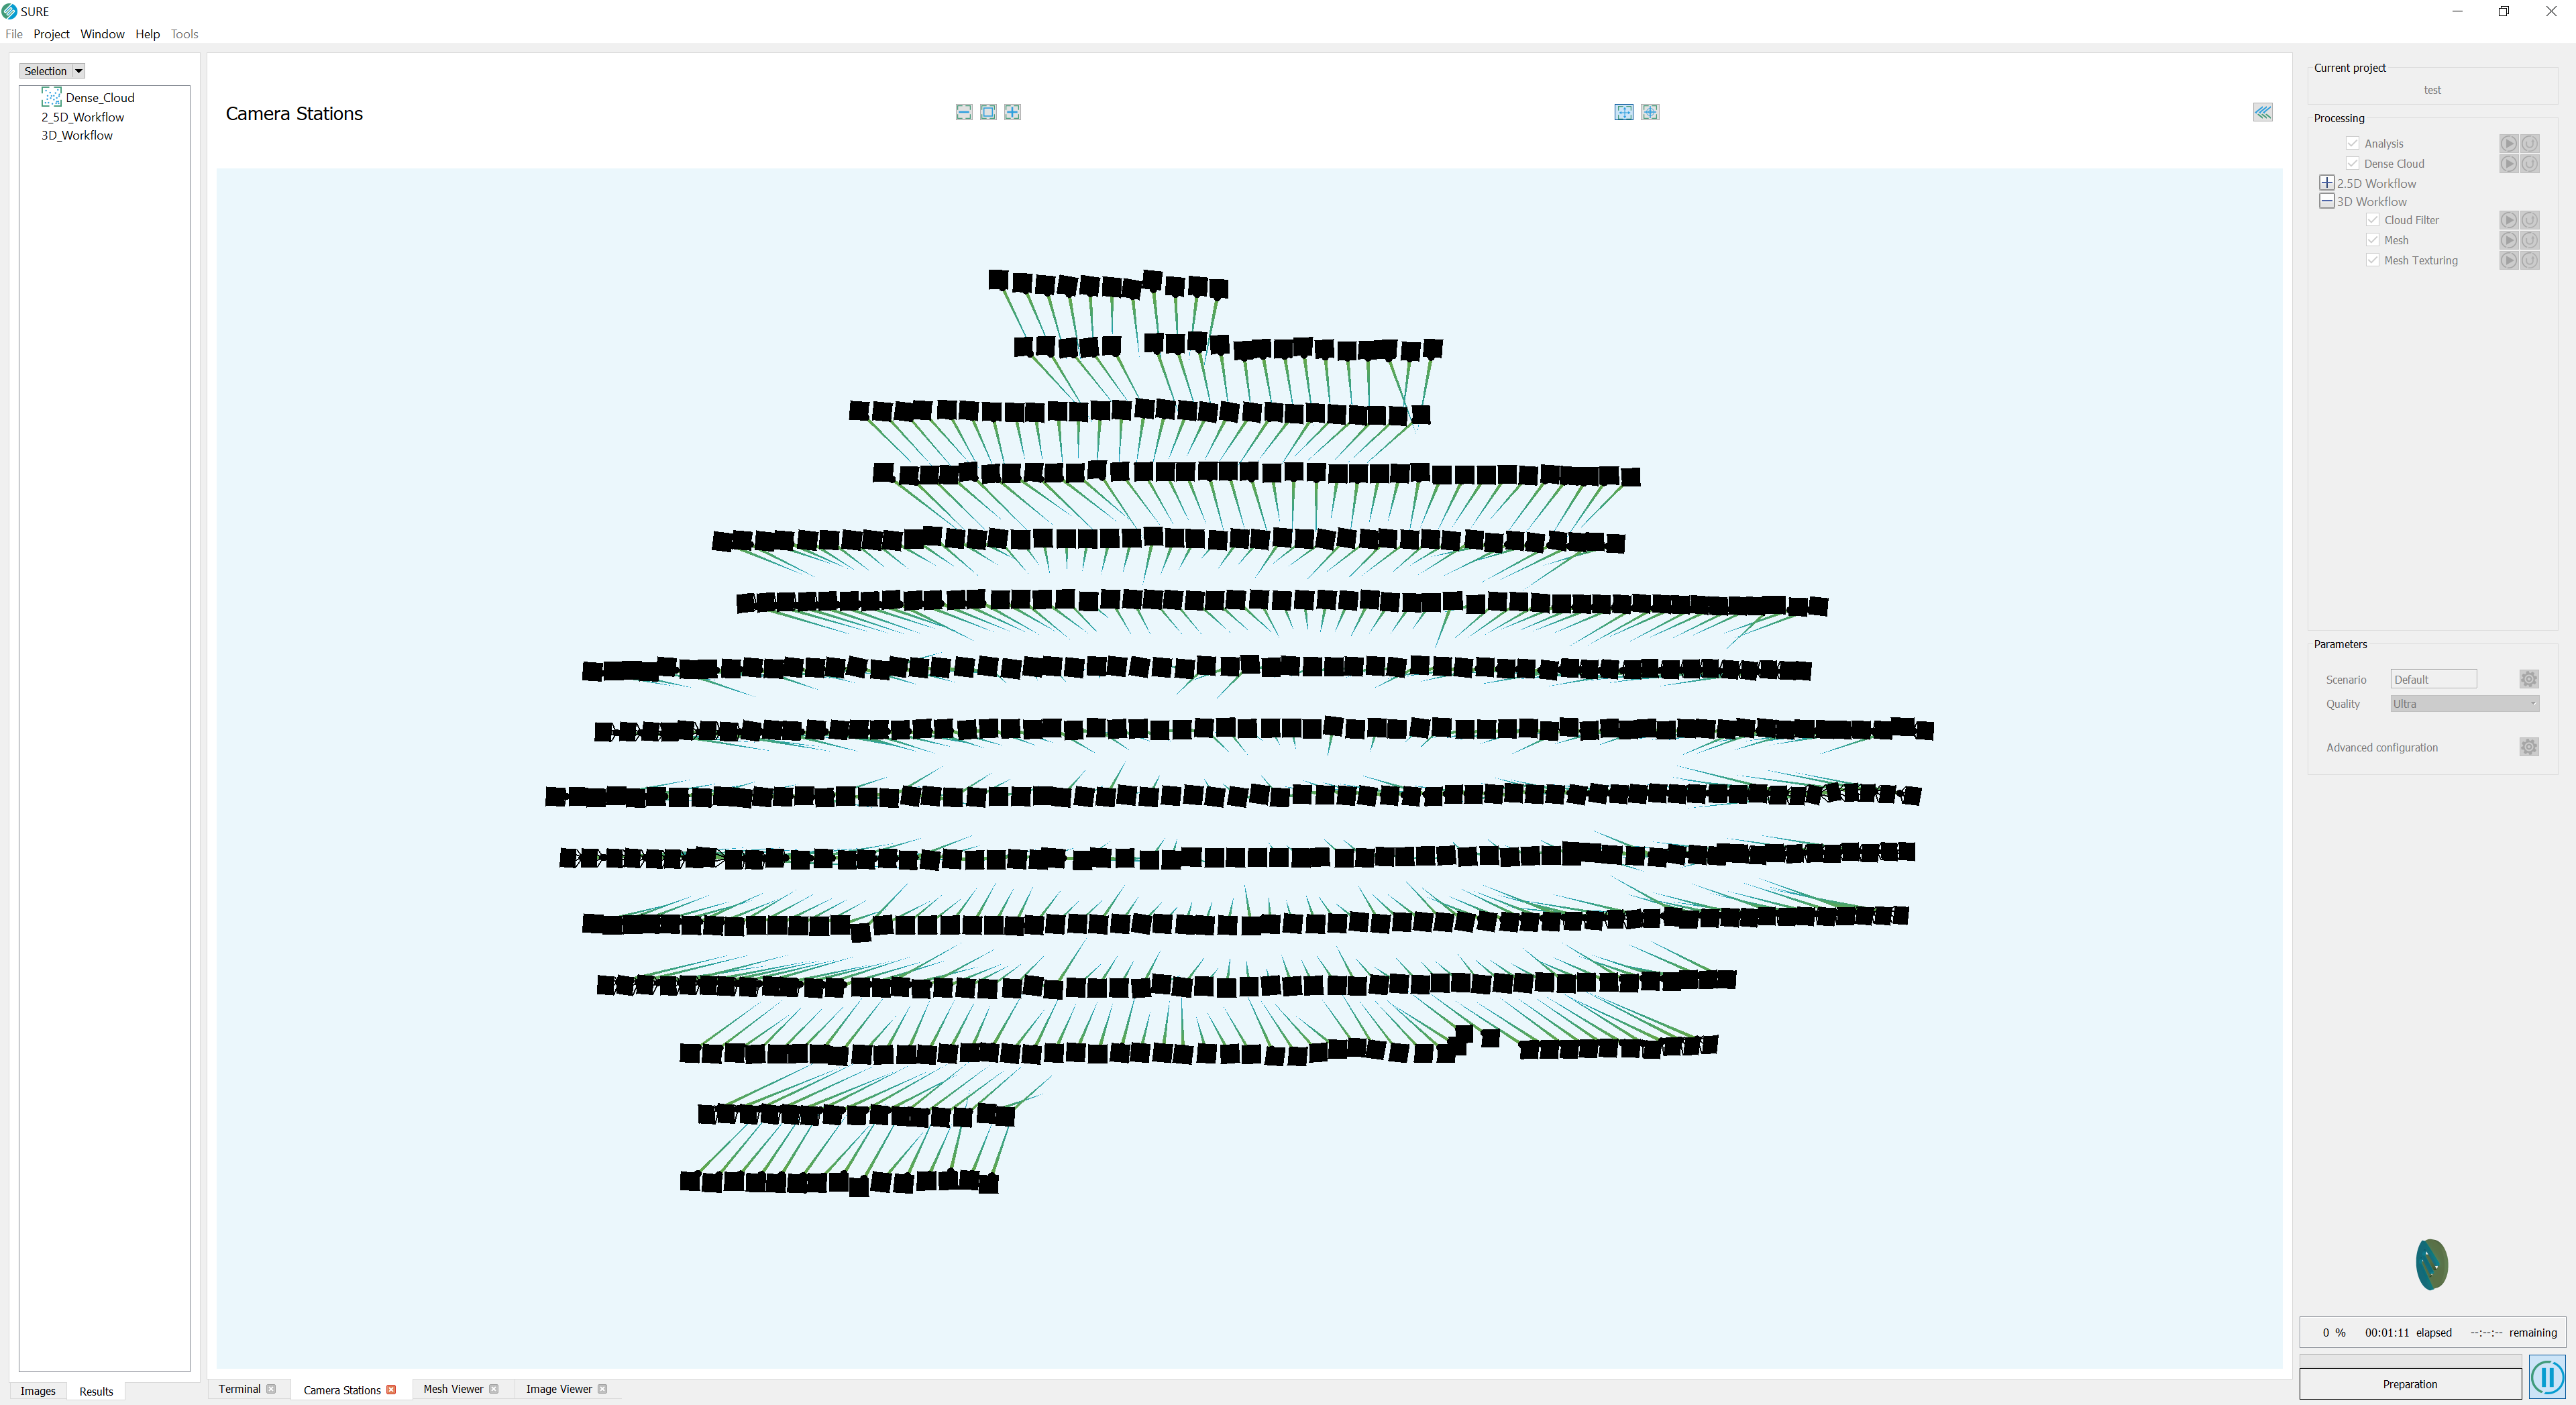
You will now be able to run the SURE workflow and get the results you are seeking for your project.
Invalid NVM file
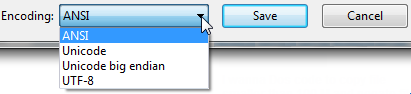
When importing the orientation file an "Invalid file" message might show up. This issue can occur due to character encoding when exporting your file from VisualSFM. For instance, you might have image names with invalid charcaters according to ANSI charcter encoding.
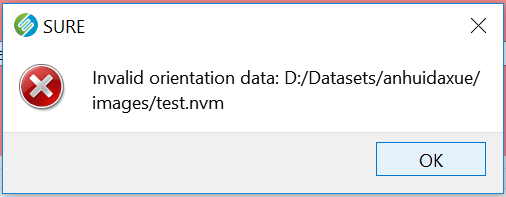
To fix this issue, simply open the NVM file with some text editor (Notepad, Notepad++,...) and save the file with encoding UTF-8. This will fix the issue.